

Find your way around
Chat is on the left, with your working area on the right.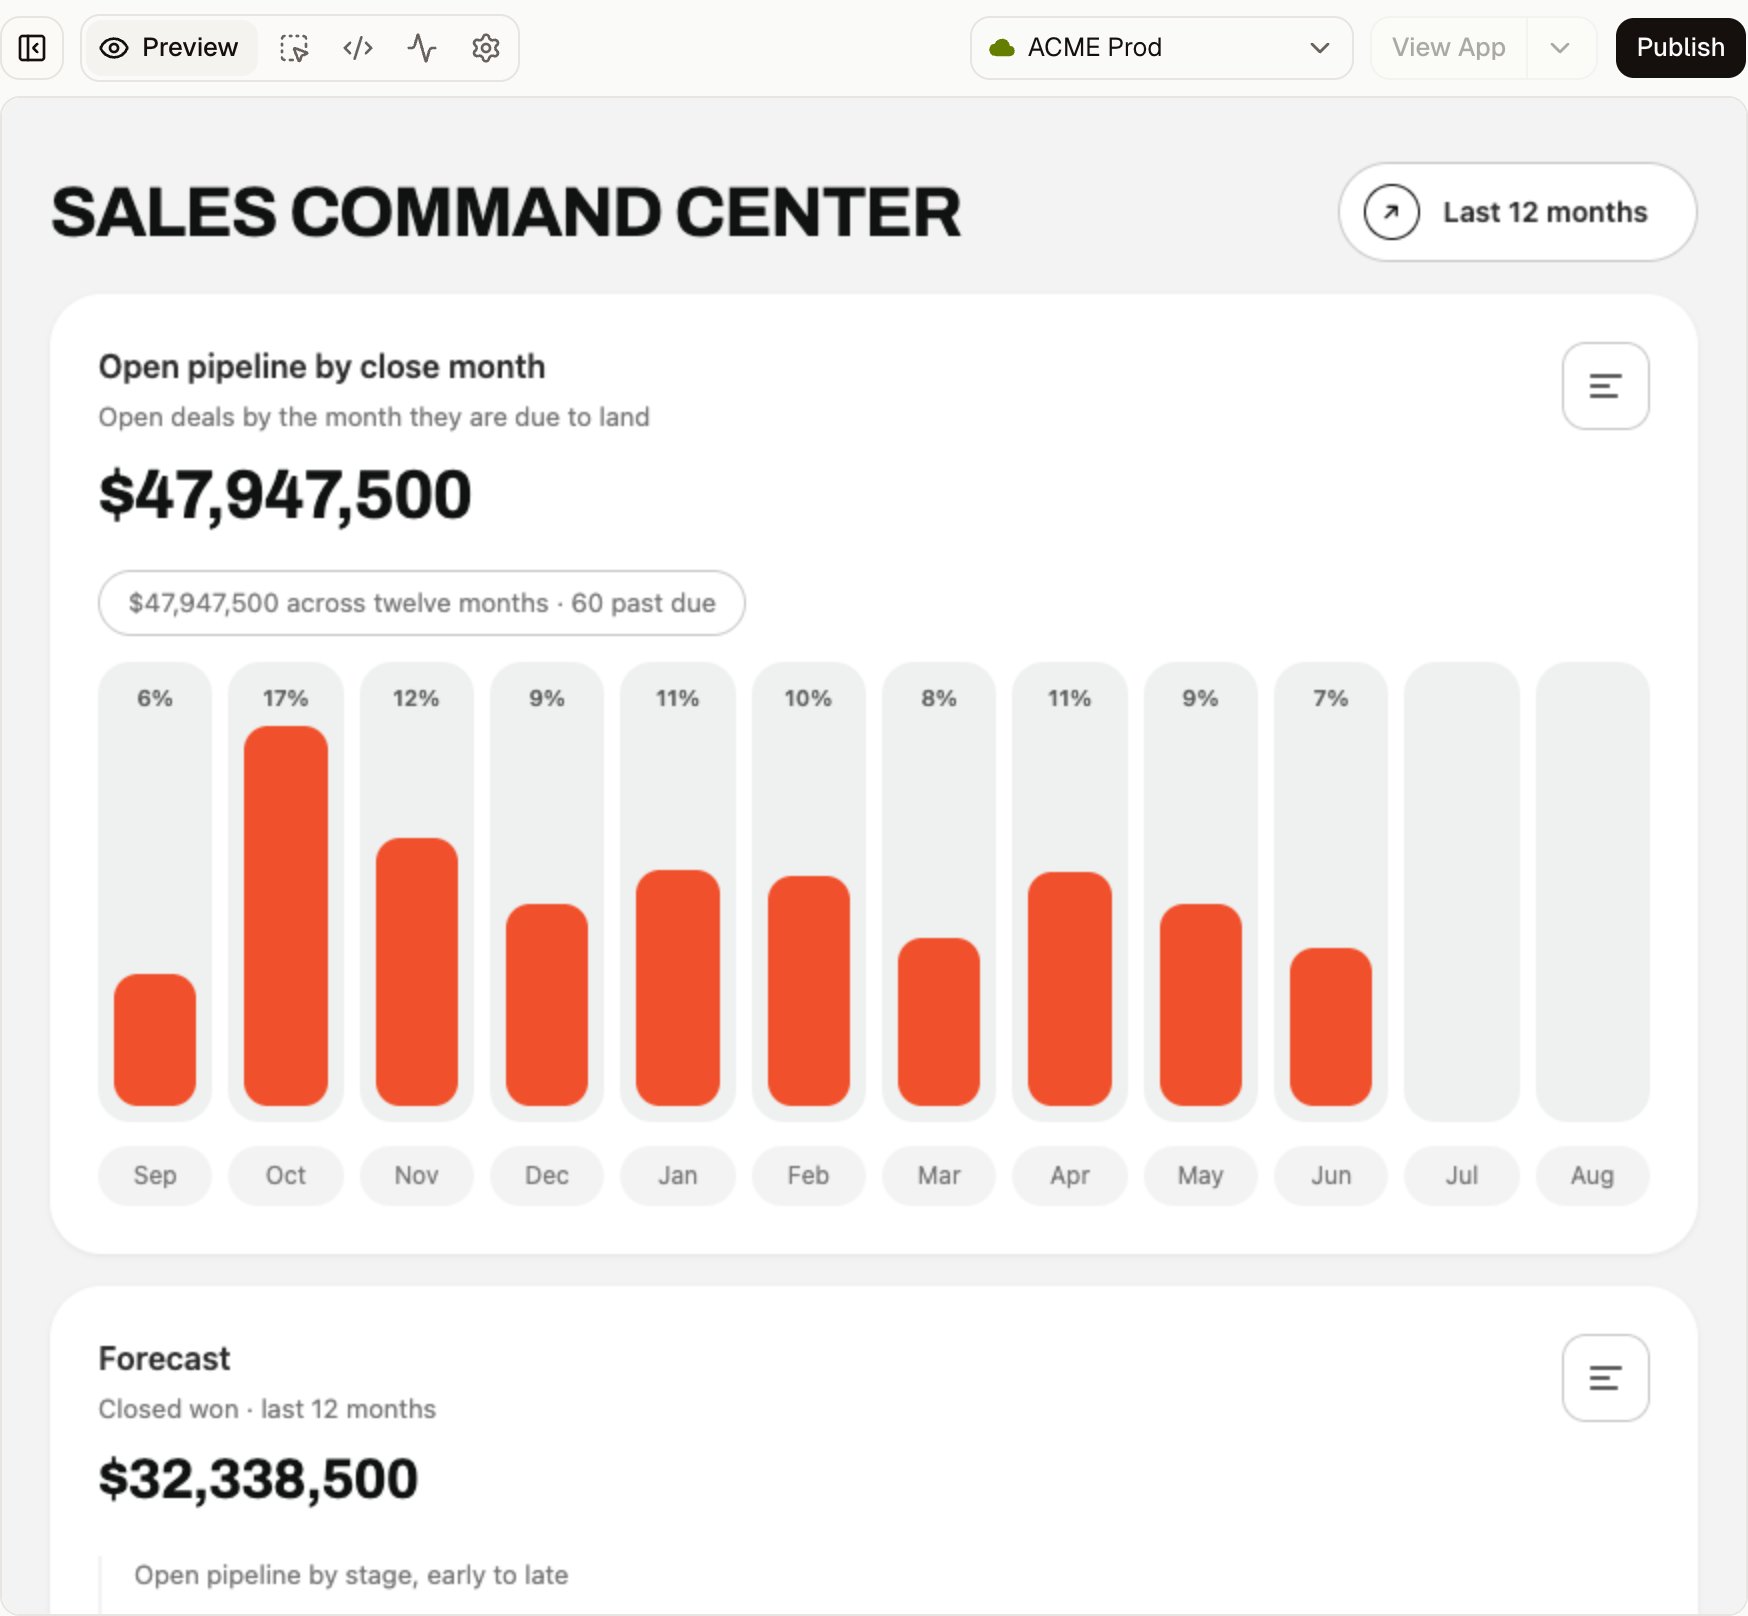
The Preview work area shows the running app, with the connected org and publishing controls above it.
Use a desktop browser for Edit, Code, and Network. These tabs aren’t shown in the small-screen layout.
Change the connected org
In the Wisty web app, click the current org’s name in the header above the preview, beside View App. Choose another connected org from the list. In narrower desktop windows, use the Switch org icon. This changes your selected connection in this workspace, including other projects you open there. Check the org before generating or testing against its data. To add or reconnect an org, see Connect Salesforce. With builder access, you can generate and publish apps inside Salesforce. Projects created there stay tied to that Salesforce org and can’t switch to another org.Refine the result in chat
Describe the next change in the message box. Be specific about the behavior you want: “Keep the current columns and add a stage filter” gives Wisty a clear scope. Wisty shows its progress in chat and updates the preview as changes are saved. Try the result when generation finishes. You can choose a model and reasoning level in the composer before sending a message. Before the first build, Wisty may ask a few questions if a missing detail would change the result. Answer them to continue. For object mentions and reference images, see Describe what you need.Queue a change or stop generation
While a build is running, type your next instruction and click Queue. The message waits until Wisty is ready. Expand the queued-prompt panel above the composer to edit or remove a waiting message. Click Stop generation to stop the current work. Check the preview and history afterward to see what has already been saved before deciding what to ask next. If you also want to cancel waiting changes, remove those messages from the queue.Restore an earlier version
- Click Show history, the history icon above chat.
- Find the saved version you want and click Restore on its row.
- Check the version in the confirmation, then click Restore again.
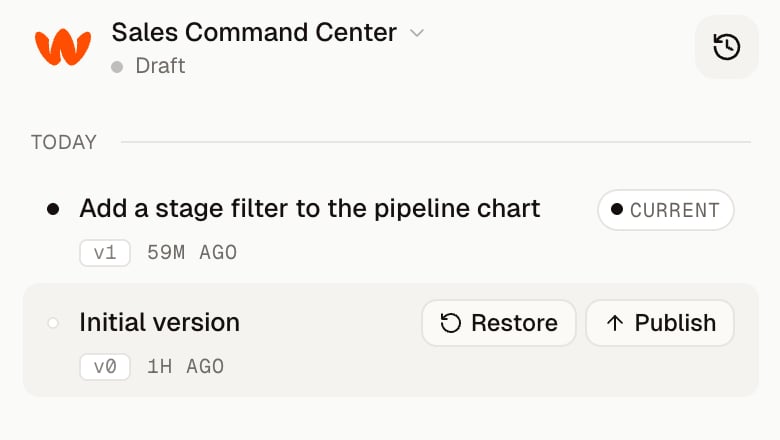
Hover over a saved version to show Restore and Publish.
Preview a record-page app
A project built for a Salesforce record page needs a test record to show record-specific content. When Wisty enables record context, a chip appears above the preview.- Click No preview record.
- Paste the Salesforce record ID you want to use for testing.
- Click Apply.